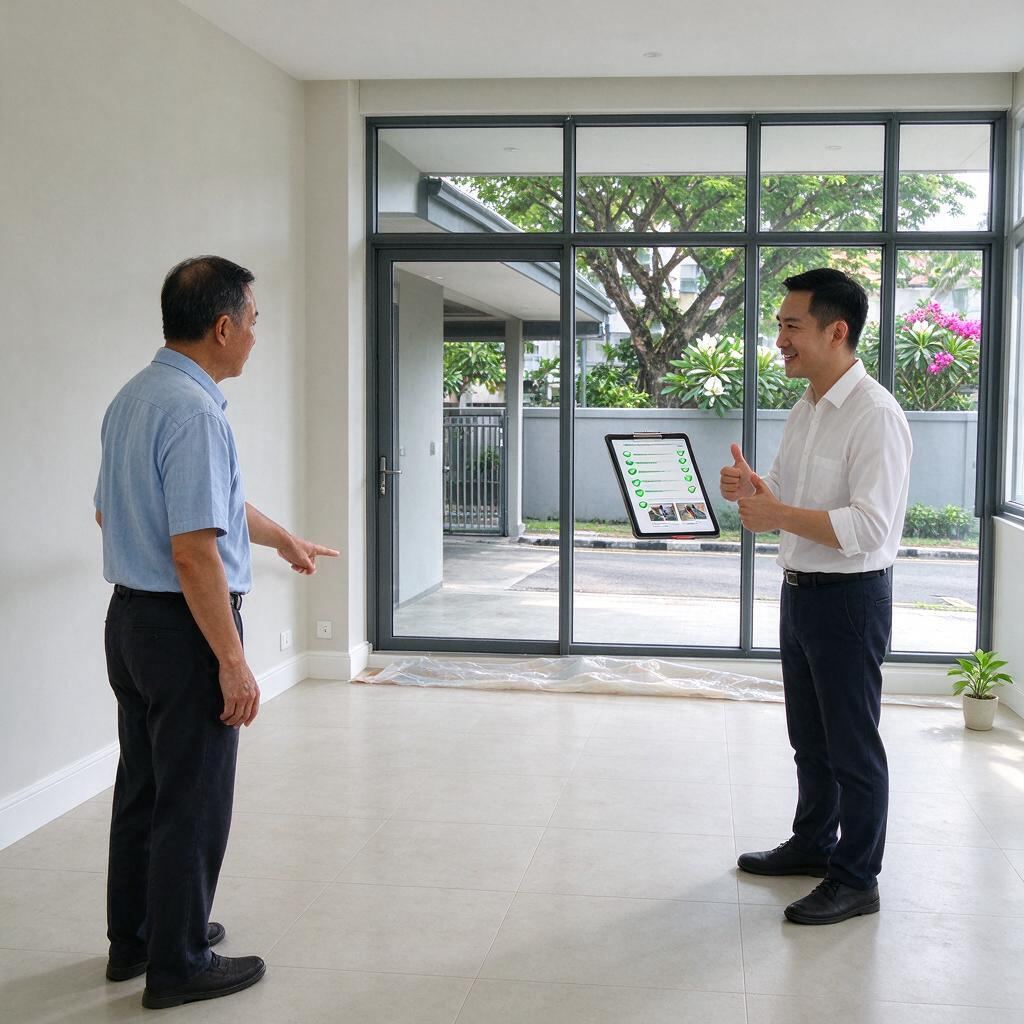

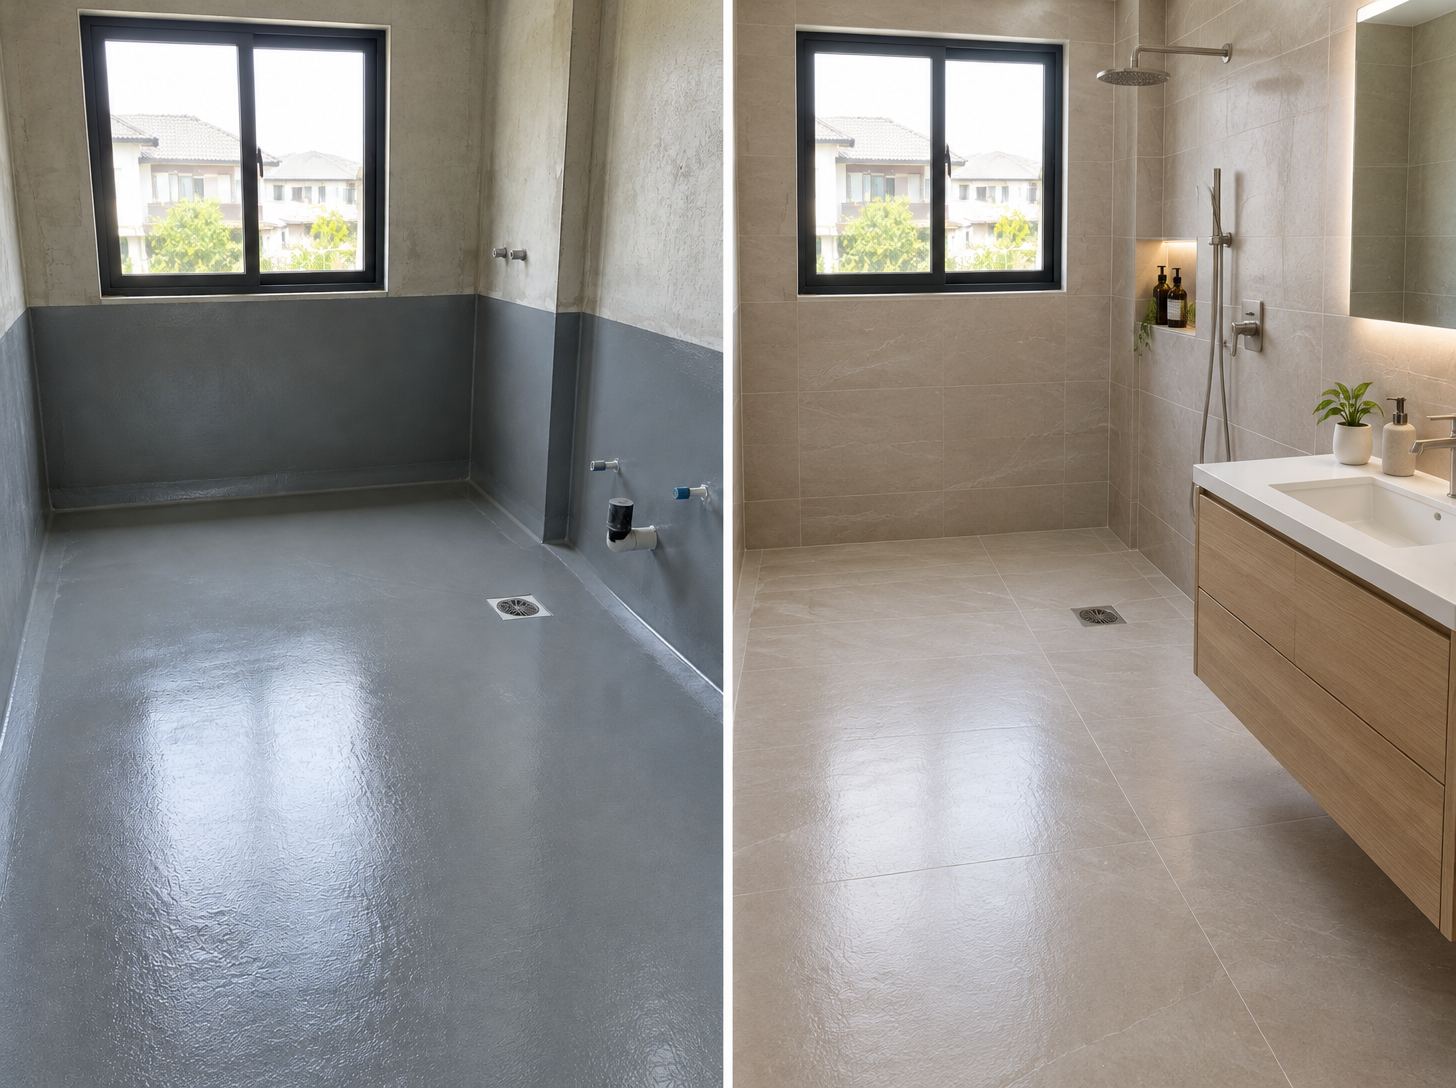
A freshly tiled bathroom or a smooth plasterboard ceiling tells you almost nothing about the pipes, cables and waterproofing behind it. For a landed rebuild or new erection in Singapore, the most useful quality conversations happen before those finishes go on, not at the final handover walk-through, when problems are expensive to reach.
The practical answer is a project-specific concealed-work checklist: agree what needs checking, who checks it, what evidence is retained, and who releases the next stage. You are not expected to supervise technical work yourself. The aim is to make your design-and-build team's checks easy to follow and easy to trace later.
The four hold points most families should ask about: wet-area waterproofing, concealed plumbing, electrical work above ceilings, and the interfaces where different trades meet. Each is covered below.
Start with agreed hold points, not surprise inspections
A hold point is an agreed pause before a particular item is covered. Your project team should select these against the approved design, specifications, installation instructions and construction programme. Not every wall needs the same inspection, and an owner's site visit never replaces a professional one.
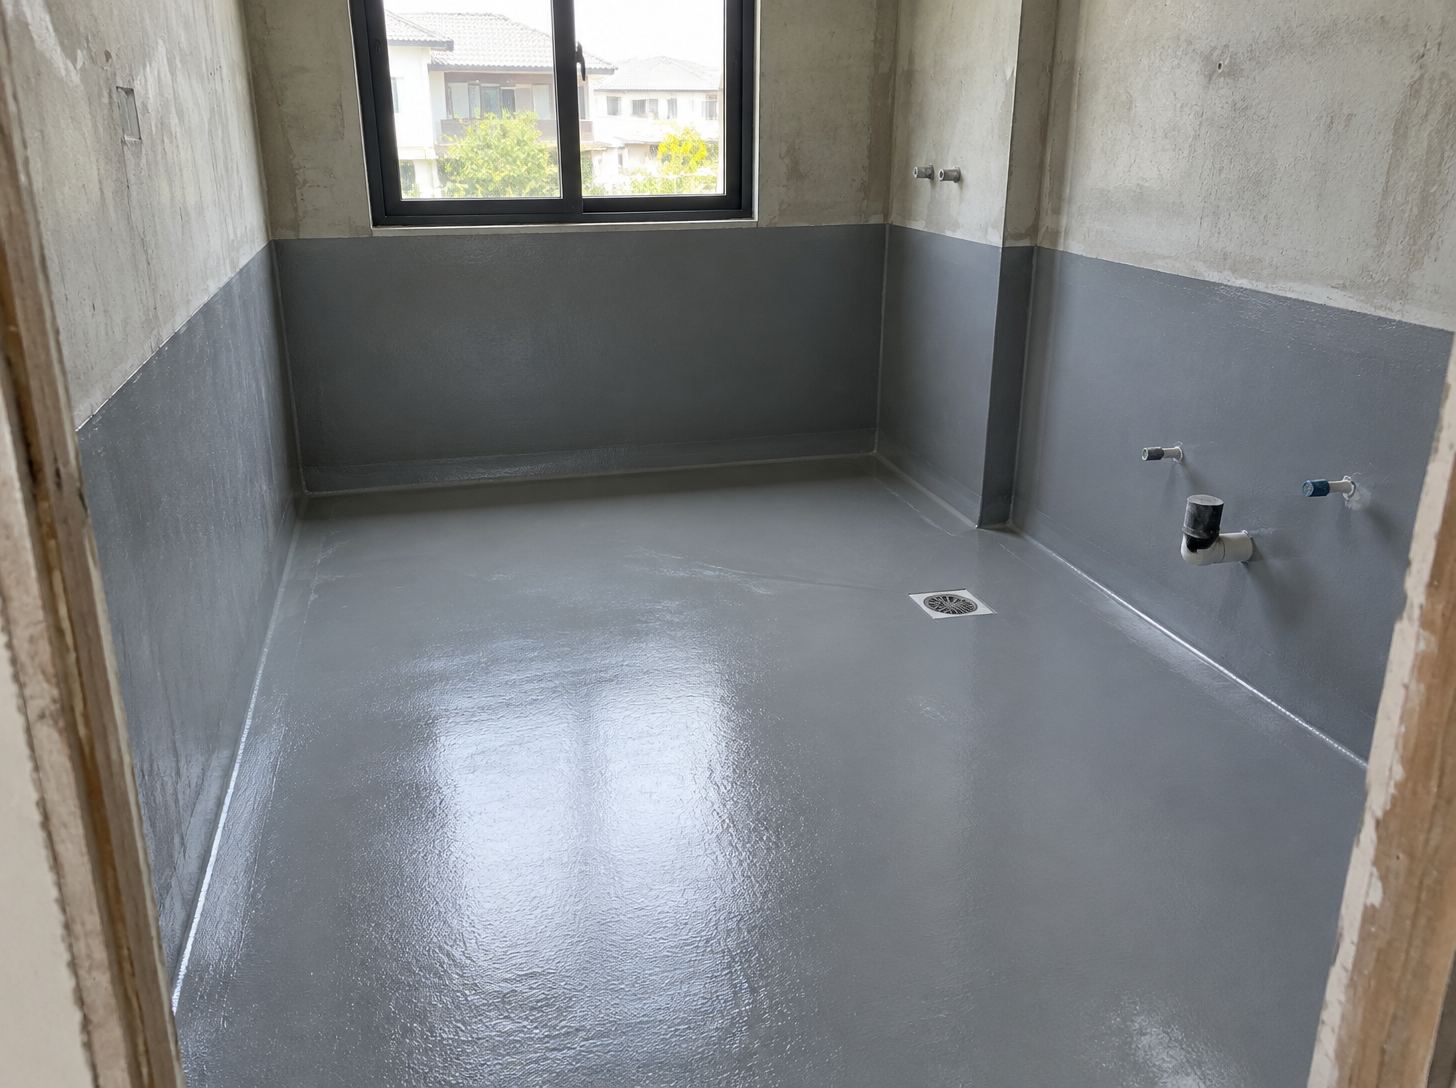
At the start of construction, ask for a short schedule covering the location, work to be checked, responsible person, notice arrangements and record required before proceeding. Include a process for defects, reinspection and written release. An entry might read: “Level 2 bathroom waterproofing: inspect the completed system and record the specified test before protection and finishes.” The method, duration and acceptance criteria must come from the responsible professionals and specified system—not a generic online checklist.
For owners still comparing builders, our landed rebuild quotation guide helps establish what is included before site work begins.
1. Review wet-area details before they disappear
Ask the team to explain the agreed waterproofing build-up and how it deals with corners, thresholds, penetrations and floor outlets. Check that the installed products and details match the selected system, and that required inspection and test records are available before it is covered. If something is repaired, record the location and any required repeat inspection or testing.
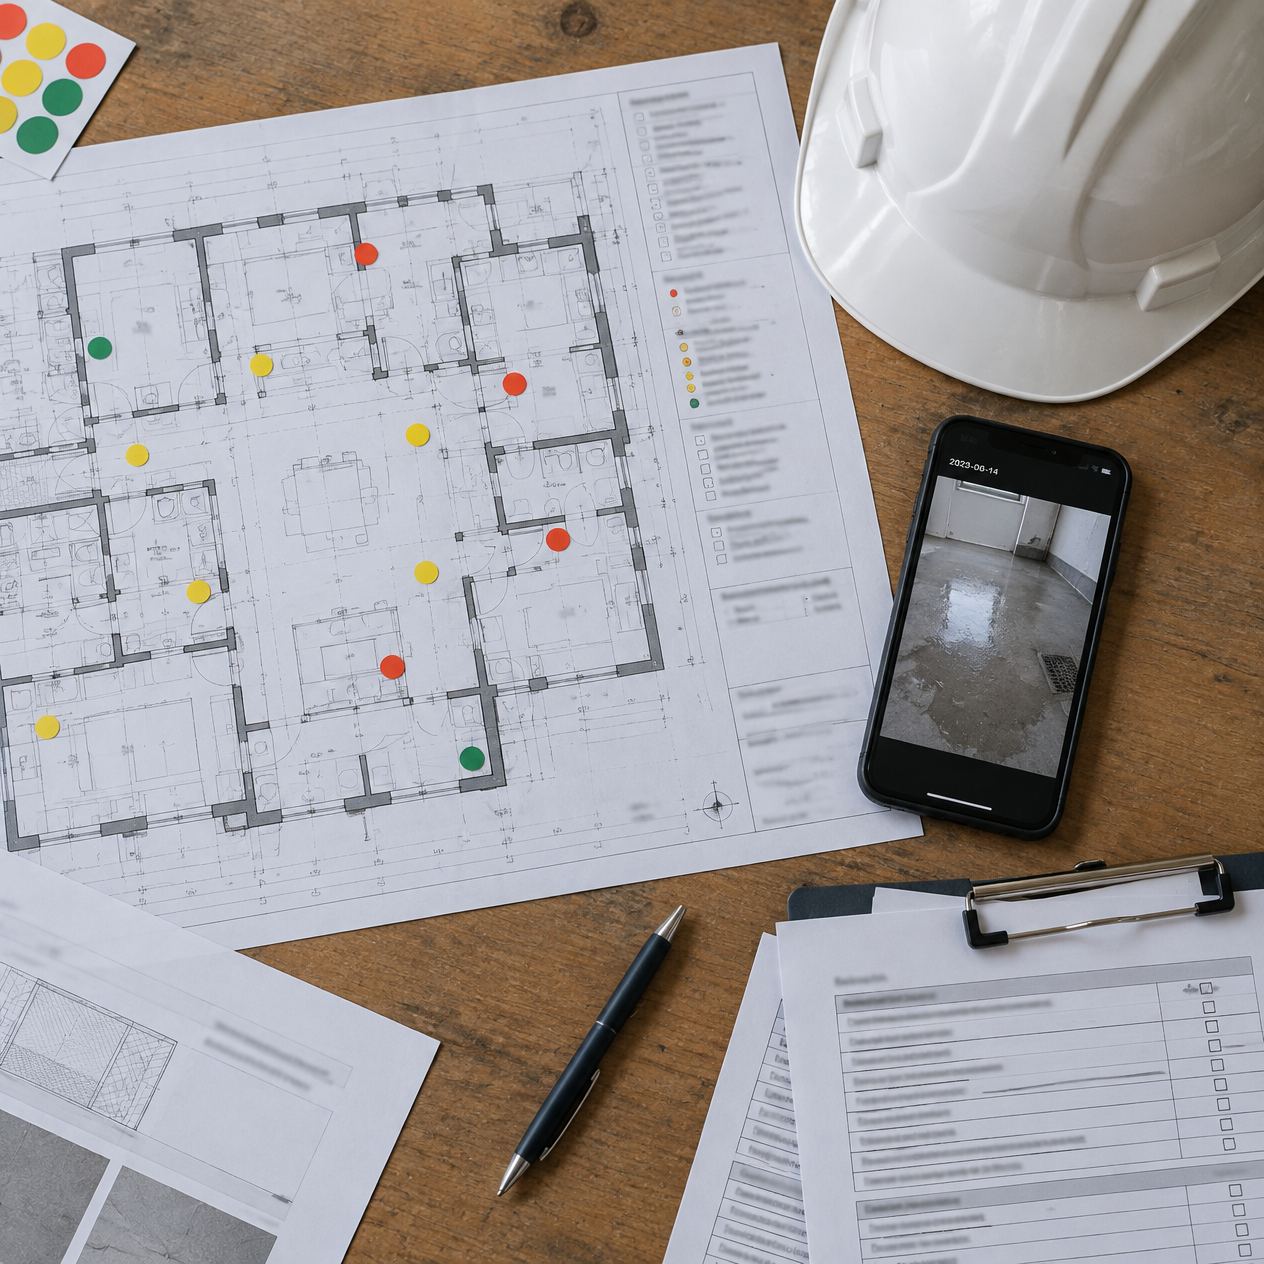
A photograph of a wet floor alone does not establish that a specified test passed. The useful record identifies the area, date, method, result, reviewer and outstanding actions. Keep it with the relevant drawings rather than as an unlabelled image in a chat thread.
Sequencing depends on the construction detail. Our waterproofing and screeding guide explains why that discussion should happen before finishes are installed. For your own house, have the project team confirm the actual specified sequence rather than treating a general article as an installation instruction.
2. Record concealed plumbing and access points
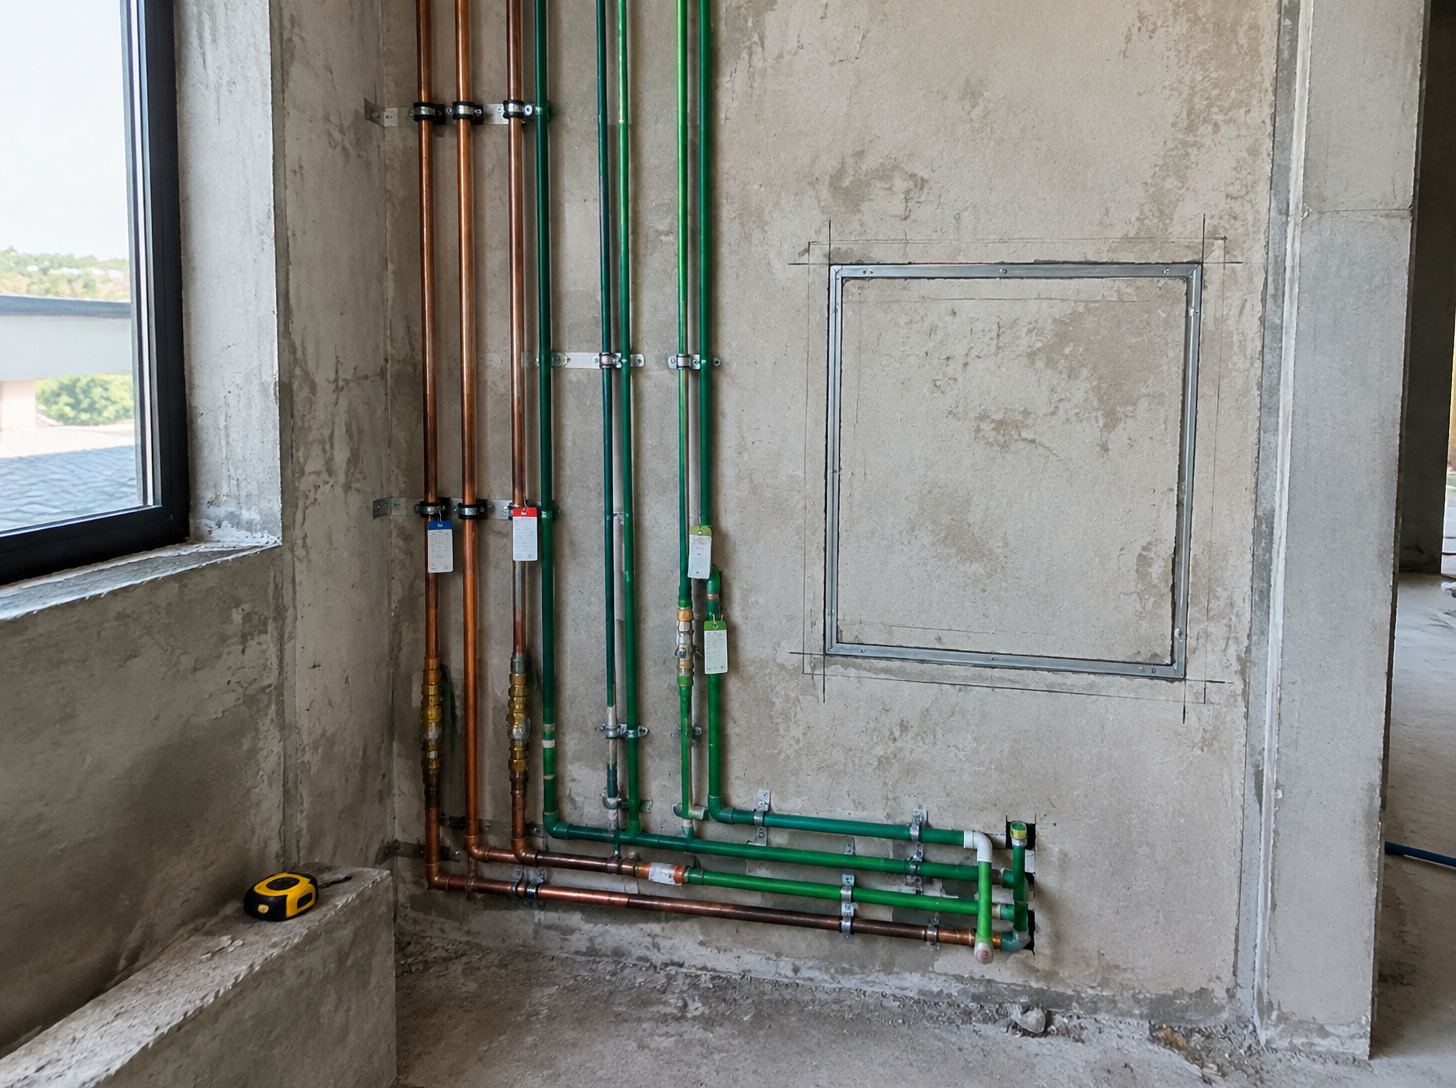
Before boxing-up or closing a service wall, ask for a review of pipe routes, connection positions and access to items that will need maintenance. Coordinate these with the actual sanitary fittings, cabinets and finished wall or floor dimensions. A beautifully aligned cabinet can still create a problem if it obstructs a service access panel.
PUB distinguishes regulated plumbing works from simple tasks that do not require a licence. Regulated water service and sanitary plumbing work must be carried out by a Licensed Plumber; a homeowner checklist is not a substitute for that responsibility. See PUB's plumbing works guidance.
Ask the responsible plumber and project team which checks and records apply to your installation. Keep marked-up routes, product details and the relevant inspection or test records. Do not open fittings, operate test equipment or enter unsafe work areas to obtain your own evidence.
3. Coordinate electrical work before ceiling closure
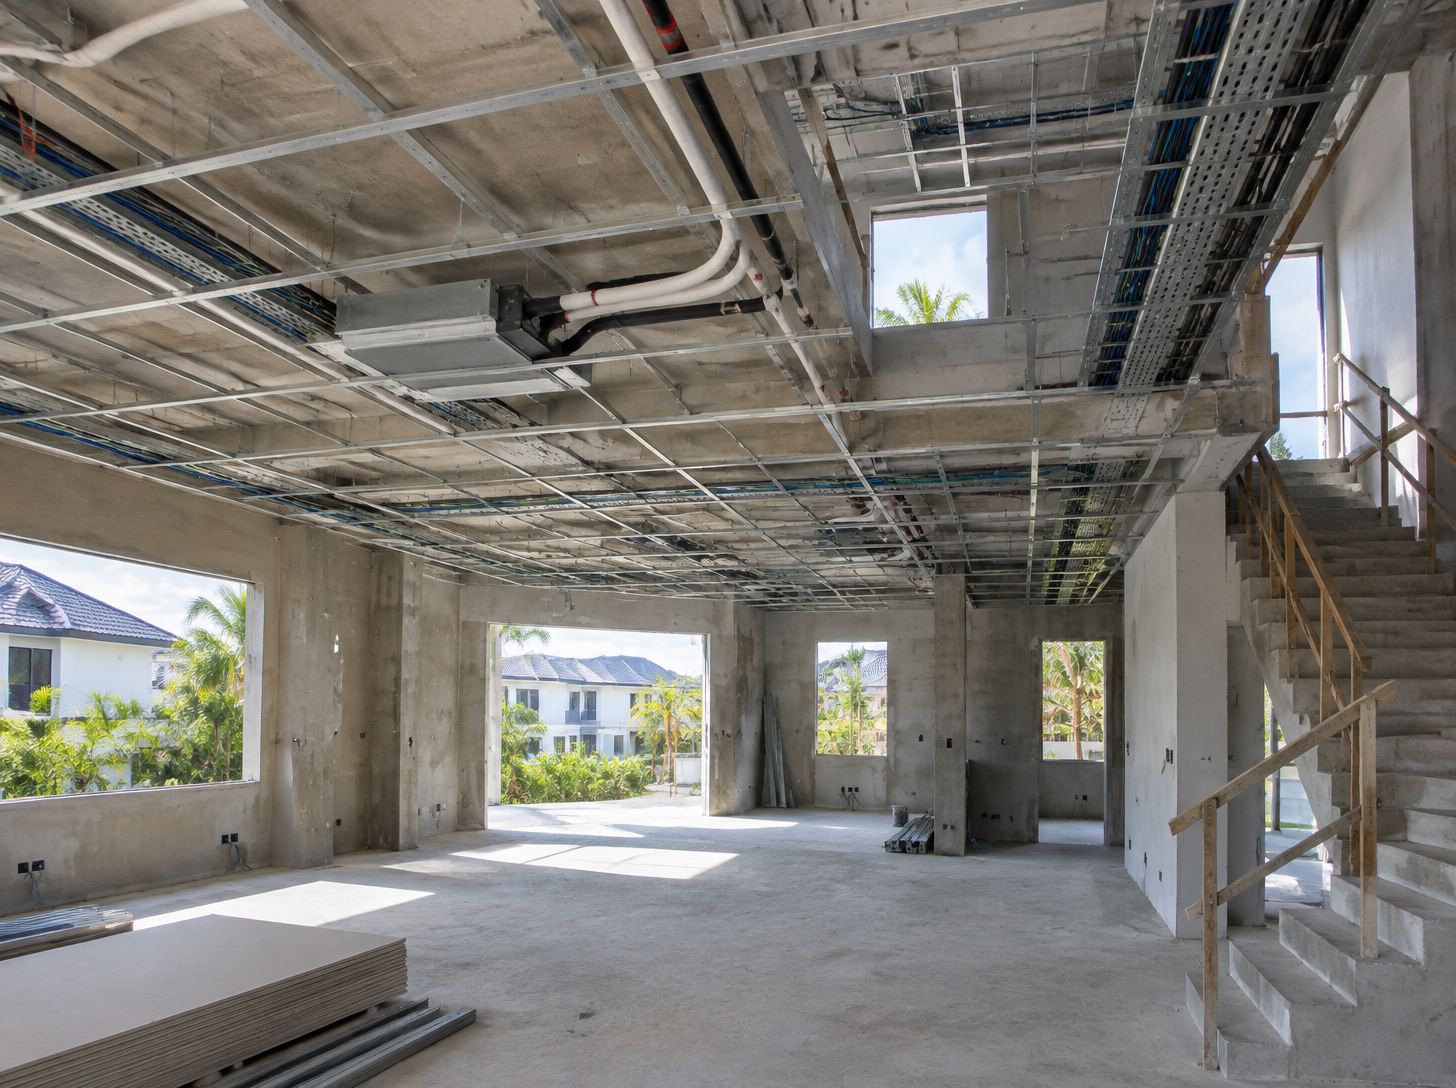
Review the coordinated layout with the team: lighting positions, switches, power points, equipment supplies and access provisions should correspond to the agreed room arrangement. This is especially useful around kitchen joinery, air-conditioning equipment and ceiling features, where different trades meet.
EMA states that electrical work must be undertaken or carried out by a Licensed Electrical Worker, and that new wiring, rewiring and extensions must be tested before supply is turned on. Verify the appointed person's current licence using EMA's licensed worker guidance and directory. The timing of individual inspections and closure approvals should be confirmed with the project team; not all final electrical testing takes place at the ceiling-closure stage.
As an owner, the question to ask is “Has the responsible person reviewed what will be concealed, and what still needs testing later?”, rather than “Can I see the cables in a photo?”
4. Check interfaces, not just individual trades
Many coordination issues sit between packages: a duct crossing a ceiling feature, a pipe beside a recessed cabinet, or an access opening hidden by joinery. Ask the coordinator to review these interfaces while changes are still practical.
A simple room-by-room review can compare the latest drawings with the installed positions and identify any unresolved decision. Separate a design change from a workmanship correction, record who owns the action, and confirm any cost or programme effect before instructing extra work. Never approve a structural alteration or a service reroute on the strength of an informal site sketch alone; obtain the appropriate professional review.
Keep one evidence pack for the house
Use a folder structure by level, room and system. For each concealed area, retain a dated overview image, closer details where useful, the drawing revision, inspection or test reference, open actions and the eventual release record. Photographs should have enough context to identify the location; they support, but do not replace, technical checks or certification.
The evidence pack pays off years later, when you need to drill into a wall, maintain equipment or trace a leak. Before handover, ask how it will be delivered and which items will remain with the contractor or consultants. Do not assume that a collection of WhatsApp photos is a complete as-built record.
Make quality checks part of the rebuild brief
A good brief explains not only the home you want, but also how you expect decisions, inspections and records to be communicated. Agree that process early so the team can plan it into the work rather than trying to reconstruct evidence after the finishes are complete.
Planning a landed rebuild or new erection? Explore Hitomo's design-and-build services, then WhatsApp Hitomo at +65 8979 9839 with your property type, location and intended scope.
Planning a landed rebuild?
Talk to a BCA Grade GB1 builder who designs, submits and builds in-house. Free 60-minute site assessment, no obligation.